Basic Robotic Arm Debugging: Getting the Robot Moving
A newly assembled robotic arm is like a child learning to walk; you need to teach it basic movements first. The first step is coordinate system calibration-use a teach pendant to mark three reference points on the injection molding machine's worktable (e.g., mold center, pick-up position, and placement position) to establish a spatial coordinate system for the robot. Next, perform:
Joint motion testing: Move each joint individually, observing whether the range of motion interferes with the injection molding machine (e.g., does the robotic arm collide with the mold when rotating). Finally, set:
Motion speed: Initially, it is recommended to set it to 30%-50%, gradually increasing the speed as the robot becomes more proficient.
Tip: Install a red laser pointer at the end of the robotic arm. Turning on the laser during debugging provides a more direct view of whether the pick-up trajectory is aligned with the mold cavity.
Pick-up Programming: Making the Robot Think
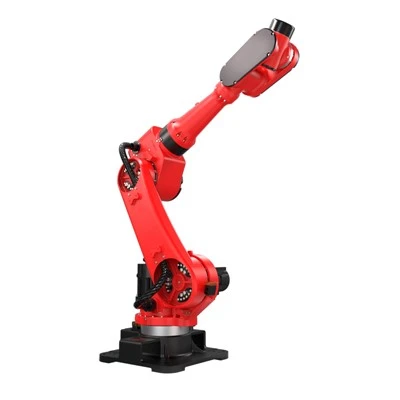
The program is the robot's "brain," and the core logic is "wait-pick-place-return." Taking a six-axis robotic arm as an example:
Waiting for signal: Set up an infrared sensor or I/O interface. Once the injection molding machine completes the mold opening process, a signal is sent, and the robot begins executing the part-picking program.
Part-picking action: Decomposed into five steps: "Approaching the mold (slow speed) → Opening the gripper → Inserting into the cavity → Closing the gripper → Lifting the product." Each step requires setting acceleration and force parameters (e.g., setting the gripper closing force to 2-5N to avoid damaging the product).
Placement action: Set the placement coordinates according to subsequent processes (such as packaging and trimming). If using a conveyor belt, the placement timing needs to be calculated synchronously with the conveyor belt speed.
Loop execution: Add a "Return to initial position" instruction at the end of the program and set loop conditions (e.g., "Continue running until a stop signal is received").
Case study: A toy factory reduced the part-picking time for a single product from 4.2 seconds to 2.8 seconds by optimizing its part-picking program, increasing daily output by 37%.
Safety Protection Settings: Making Operation "Zero Risk"
Safety is paramount for robot part picking. Dual protection is required:
Hardware protection: Install optical sensors outside the robotic arm's working range. When personnel enter the danger zone, the sensors send a signal to immediately stop the robotic arm.
Software protection: Set the "emergency stop button" in the program to have the highest priority (even if the emergency stop is pressed during program execution, the robotic arm will stop within 0.2 seconds), and add a "collision detection" function (automatically stop the robotic arm when the force exceeds a set value).
Reminder: During the debugging phase, it is recommended to wear a safety helmet and goggles, and have a dedicated person supervise the process to avoid unexpected robotic arm movements due to program errors.