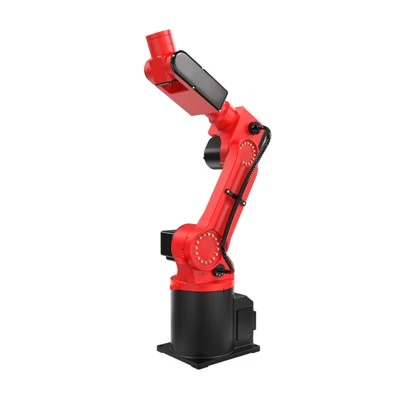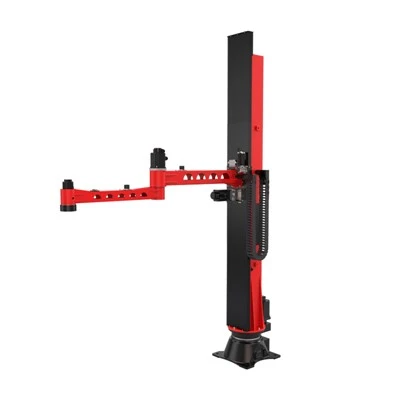


Yo, what's up! I'm a supplier of pick up robots, and today I wanna walk you through the installation process of these nifty machines. Whether you're new to the tech game or looking to expand your factory floor, understanding how to install a pick up robot is key.
1. Pre - installation Checks
Before you even start unpacking that shiny new robot, there are some important pre - installation checks you gotta do.
First off, check the space. You need to make sure the area where you plan to install the pick up robot is clean, level, and spacious enough. The robot needs room to move its arms and perform its tasks without any obstructions. Measure the floor to ensure it can handle the weight of the robot and any additional equipment that comes with it.
Next, look at the power supply. Our pick up robots are pretty demanding when it comes to power. You need to have a stable power source that matches the voltage and amperage requirements of the robot. Check the electrical wiring in the area. Make sure it's in good condition and can handle the load. If you're not sure about the electrical stuff, it's always a good idea to call in an electrician.
Also, don't forget to check the software requirements. You'll need to have the right operating system and software installed on the control unit. This is crucial for the robot to function properly. You can find the software requirements in the user manual that comes with the robot.
2. Unpacking and Inspection
Once you've done the pre - installation checks, it's time to unpack the pick up robot. Be careful when you're unpacking it. The robot is made up of delicate components that can get damaged easily.
As you unpack, do a thorough inspection. Check for any visible damage to the robot's body, arms, or sensors. Look for loose parts or missing components. If you find anything wrong, contact us right away. We'll sort it out for you.
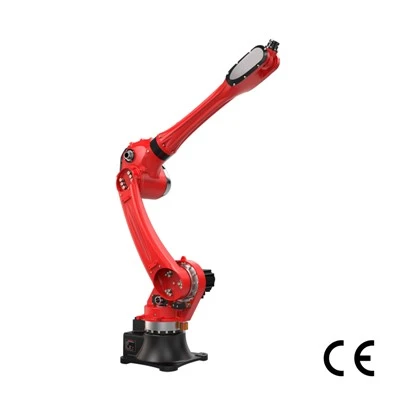
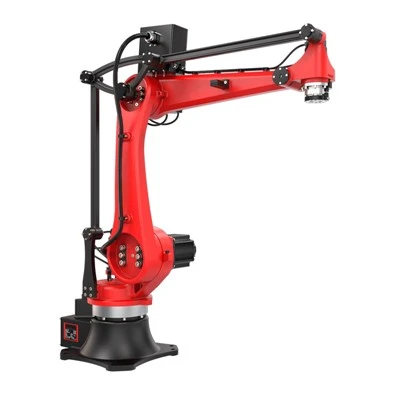
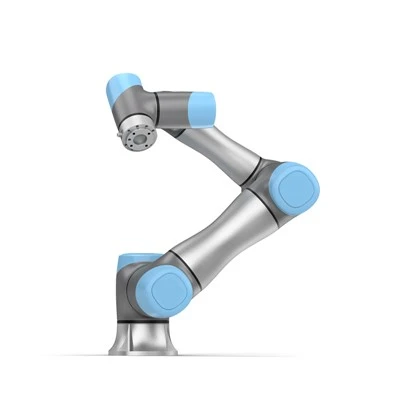
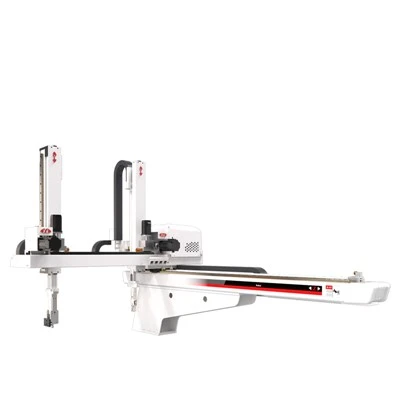
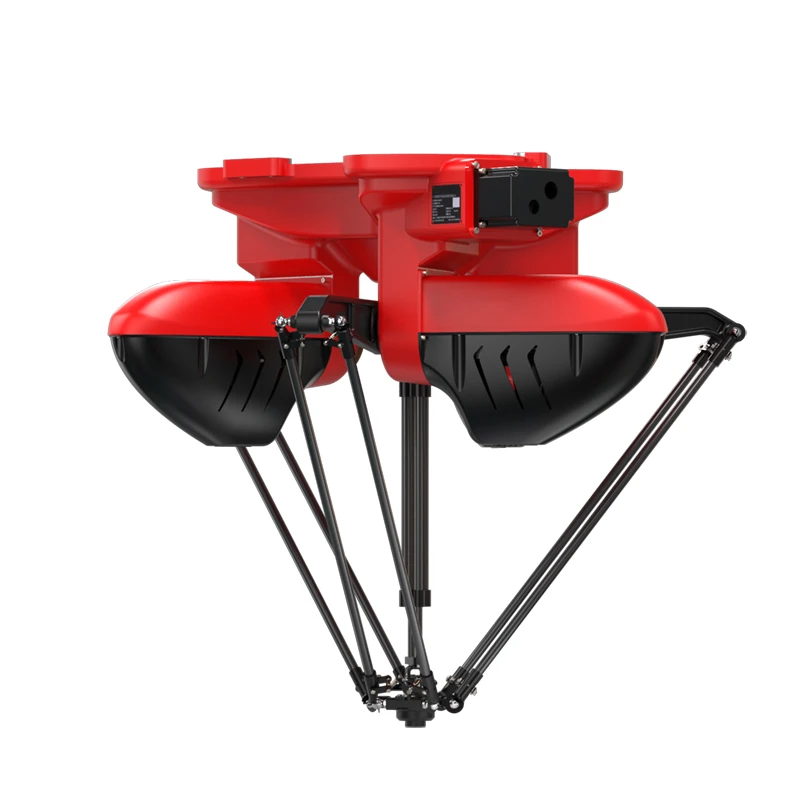
You'll find that our pick up robots come in different types, like the 4 Axis Pick and Place Robot, High Speed Pick and Place Robot, Small Pick and Place Robot, Robotic Picking Arm, and Industrial Pick and Place Robot. Each type has its own specific features and parts, so double - check that you have everything you need for your particular model.
3. Mounting the Robot
After the inspection, it's time to mount the robot. Most of our pick up robots come with a mounting base. You need to attach this base to the floor using the appropriate bolts and fasteners. Make sure the base is level and firmly attached. You can use a spirit level to check the levelness.
Once the base is in place, carefully lift the robot onto the base. This might require some help, especially if it's a larger model. Align the robot with the mounting holes on the base and then secure it using the provided bolts. Tighten the bolts evenly to avoid any uneven stress on the robot.
4. Connecting the Electrical and Pneumatic Systems
Now it's time to connect the electrical and pneumatic systems.
For the electrical connection, start by connecting the power cable from the robot to the power source. Make sure the connection is secure and there are no exposed wires. Then, connect the communication cables between the robot and the control unit. These cables are used to transfer data and commands between the two.
If your pick up robot uses a pneumatic system (which is common for many of our models), you need to connect the air hoses. Check for any leaks in the hoses. You can use a soapy water solution to check for leaks. If you see bubbles forming at the connections, it means there's a leak. Tighten the connections or replace the hoses if necessary.
5. Software Installation and Configuration
Once the physical installation is done, it's time to focus on the software.
Insert the software installation disc or download the software from our official website. Follow the installation wizard to install the software on the control unit. It's a pretty straightforward process, but make sure you follow all the prompts.
After the software is installed, you need to configure it. This involves setting up the robot's parameters, such as its speed, range of motion, and pick - and - place patterns. You can use the software's graphical user interface to make these settings. It's intuitive and easy to use, even if you're not a tech whiz.
6. Calibration
Calibration is a super important step. It ensures that the robot moves accurately and performs its tasks precisely.
There are different types of calibration for pick up robots. First, there's the mechanical calibration. This involves adjusting the robot's joints and axes to make sure they're in the correct position. You can use the calibration tools provided with the robot to do this.
Then, there's the sensor calibration. Our pick up robots are equipped with various sensors, such as vision sensors and proximity sensors. You need to calibrate these sensors so that they can accurately detect objects and their positions. Follow the instructions in the user manual to calibrate the sensors properly.
7. Testing and Troubleshooting
Once the calibration is done, it's time to test the robot. Start with some simple test cycles. Program the robot to pick up a few test objects and place them in a specified location.
Watch the robot closely during the test. Look for any abnormal movements, such as jerky motions or incorrect positioning. If you notice any issues, it could be a sign that something is wrong with the installation, configuration, or calibration.
If you run into problems, don't panic. Check the user manual first. It has a troubleshooting section that can help you identify and fix common issues. If you still can't figure it out, reach out to us. We have a team of experts who can assist you.
8. Training
Once the robot is up and running smoothly, it's important to train your staff. They need to know how to operate the robot safely and efficiently.

We offer training programs for our customers. Our training sessions cover everything from basic operation to advanced programming. Your staff will learn how to program the robot for different tasks, how to perform maintenance, and how to troubleshoot common problems.
Wrapping Up and Contact
So, that's the installation process of a pick up robot in a nutshell. It might seem a bit complicated at first, but if you follow these steps carefully, you'll have your robot up and running in no time.
If you're interested in purchasing a pick up robot or have any questions about the installation process, don't hesitate to get in touch. We're here to help you every step of the way. Whether you need a 4 Axis Pick and Place Robot, High Speed Pick and Place Robot, or any other type of pick up robot from our range, we've got you covered.
References
- Manufacturer's user manual for pick up robots
- Industry standards for industrial robot installation and operation