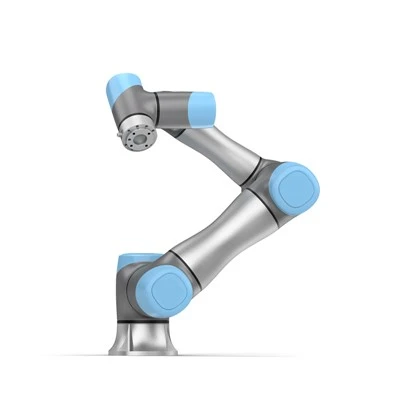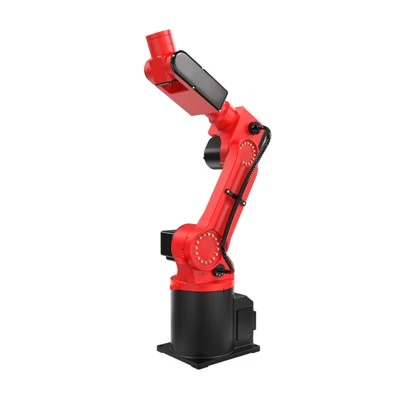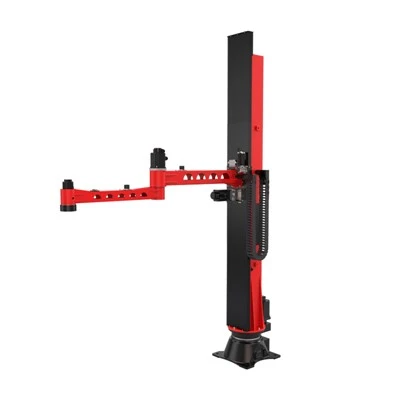


Hey there! I'm from a cobot supplier, and today I'm gonna walk you through how to install a cobot. It might seem like a daunting task at first, but with the right steps and a bit of know - how, you'll have your cobot up and running in no time.
Pre - installation Checks
Before we even start the actual installation process, there are a few things we need to check. First off, make sure you've got the right workspace. The area where you plan to install the cobot should be clean, flat, and free from any obstacles. It's also important to have enough space around the cobot for it to move freely without hitting anything. You don't want it to accidentally knock over a tool or a box while it's working.
Next, check the power supply. Cobots usually require a specific voltage and amperage. You can find this information in the user manual that comes with your cobot. Make sure your electrical outlet can provide the necessary power. If not, you might need to get an electrician to install a suitable outlet.
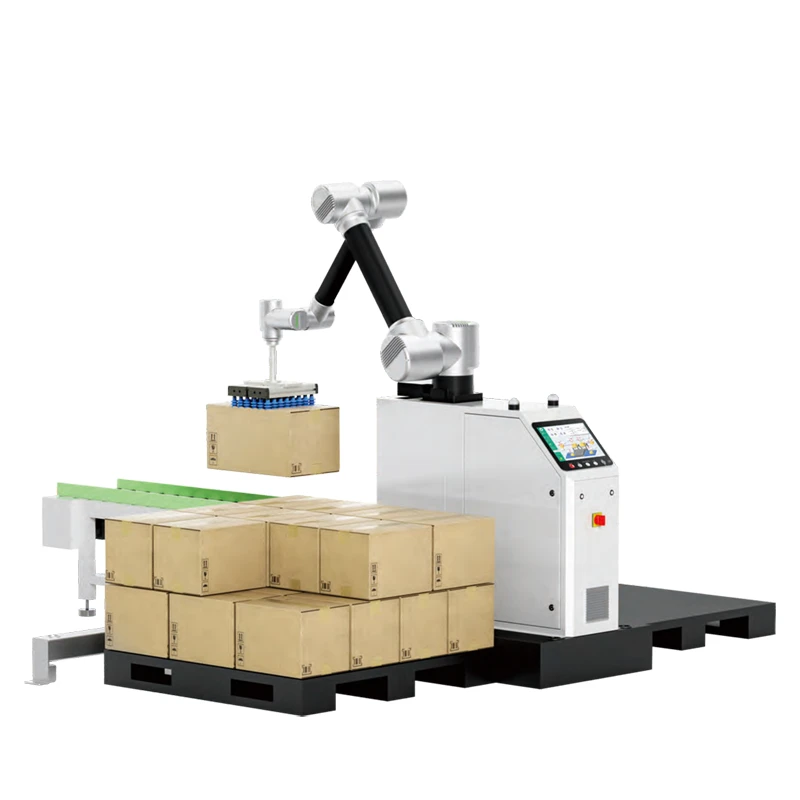
Also, take a look at the payload capacity of your cobot. Different cobots are designed to handle different weights. If you're planning to use it for tasks like Machine Tending Cobot or Palletizing Cobot, you need to ensure that the cobot can handle the weight of the objects it'll be working with.
Unpacking the Cobot
Once you've done all the pre - installation checks, it's time to unpack the cobot. Carefully open the box and take out all the components. You'll usually find the cobot arm, the controller, cables, and some mounting hardware. Check each part for any signs of damage during shipping. If you notice anything wrong, contact our customer support right away.
Mounting the Cobot
Now, let's get to the mounting part. The first step is to decide where you want to mount the cobot. You can mount it on a tabletop, a pedestal, or even on the floor, depending on your application.
If you're mounting it on a tabletop, make sure the table is sturdy enough to support the cobot's weight. Place the mounting plate on the table and use the holes in the plate to mark where you need to drill. Then, drill the holes and use the bolts that came with the cobot to secure the mounting plate to the table.
After the mounting plate is secure, attach the cobot arm to the mounting plate. There are usually some alignment pins and bolts for this. Make sure the arm is properly aligned and tightened. It's a good idea to double - check the tightness of the bolts to prevent any movement during operation.
Connecting the Cables
Once the cobot is mounted, it's time to connect the cables. There are several cables that need to be connected, including the power cable, the communication cable, and the cable for any additional tools or grippers.
Start by connecting the power cable to the cobot and then to the power outlet. Make sure the power is turned off before you make the connections. Next, connect the communication cable between the cobot arm and the controller. This cable allows the controller to send commands to the cobot and receive feedback.
If you're using additional tools or grippers, connect their cables to the appropriate ports on the cobot. Some cobots have standardized ports for easy connection. Make sure all the cables are properly plugged in and there are no loose connections.
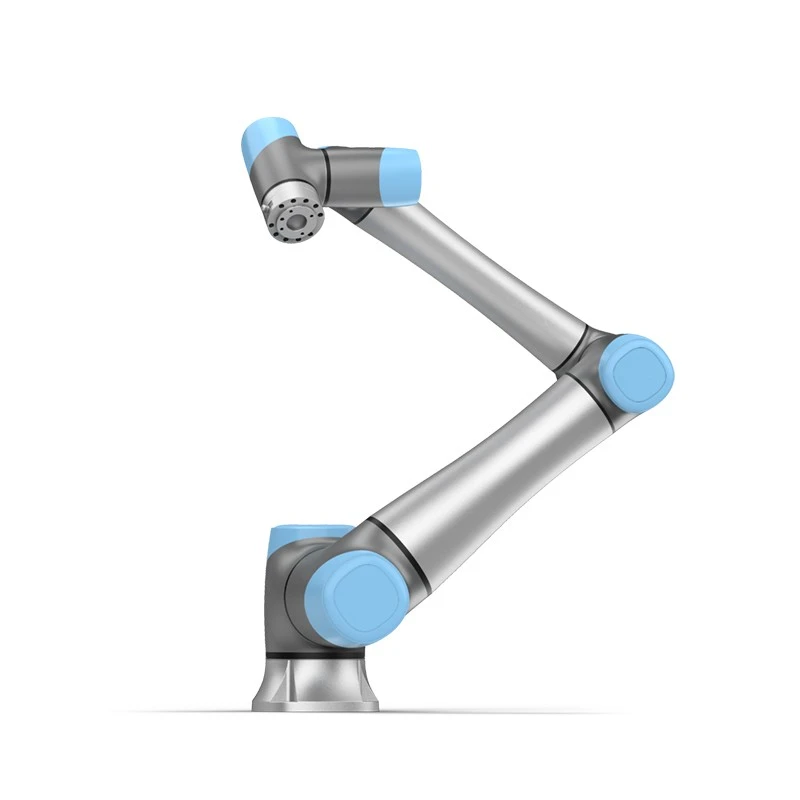
Initializing the Cobot
After all the cables are connected, it's time to initialize the cobot. Turn on the power to the controller. You'll usually see a startup screen on the controller's display. Follow the on - screen instructions to go through the initialization process.
This process might include calibrating the cobot's joints. Calibration ensures that the cobot knows its exact position and can move accurately. You'll be guided through a series of movements to calibrate each joint. It's important to follow the instructions carefully to get accurate calibration.
Once the calibration is done, you can start setting up the basic parameters of the cobot, such as the maximum speed, acceleration, and payload. These settings can be adjusted later based on your specific application.
Programming the Cobot
Now comes the fun part - programming the cobot. There are different ways to program a cobot, depending on its capabilities and your level of expertise.
If you're new to cobot programming, you can use the teach pendant that comes with the cobot. The teach pendant is a handheld device that allows you to manually move the cobot arm to different positions and record them. You can then create a program by sequencing these positions.
For more advanced users, there are programming languages and software tools available. These tools allow you to write more complex programs with conditional statements, loops, and other programming constructs. You can also integrate the cobot with other systems, such as sensors and conveyors, using these programming tools.
Testing the Cobot
After programming the cobot, it's crucial to test it before using it in a real - world application. Start with some simple test programs to make sure the cobot moves as expected. Check the accuracy of its movements and the response time of the controller.
If you're using the cobot for a specific task, such as machine tending or palletizing, create a test program that mimics the actual task. Run the program a few times and observe the cobot's performance. Make any necessary adjustments to the program or the cobot's settings based on the test results.
Troubleshooting
Even after following all the steps correctly, you might encounter some issues with the cobot. Here are some common problems and how to fix them.
If the cobot doesn't move, first check the power supply. Make sure the power cable is properly connected and the outlet is working. If the power is okay, check the communication cable between the cobot and the controller. A loose or damaged cable can cause communication issues.
If the cobot's movements are inaccurate, it might be due to improper calibration. You can repeat the calibration process to improve the accuracy. Also, check if there are any mechanical issues, such as loose bolts or worn - out parts.
If you're having trouble with the programming, refer to the user manual or our online resources. You can also contact our technical support team for assistance.
Conclusion
Installing a cobot might seem like a complex process, but if you follow the steps outlined above, you'll be able to do it successfully. Remember to do the pre - installation checks, mount the cobot properly, connect the cables, initialize and program it, and test it thoroughly.
If you're interested in purchasing a cobot for your business, whether it's for Machine Tending Cobot or Palletizing Cobot, we're here to help. Our team of experts can provide you with more detailed information, answer your questions, and guide you through the installation process. Don't hesitate to reach out to us for a consultation and let's start optimizing your production process with cobots!
References
- Cobot User Manual
- Technical Documentation from Cobot Manufacturer